Hey guys, as you all know, if you've been following my blog (if you haven't, what are you waiting for?!) I have bad allergies. All day I have one set of symptoms (indoor, outdoor allergies): sneezing, coughing, etc. and all night I suffer with the crazing itch of eczema (all I do is scratch all. night. long). I have not seen a doctor yet, but I will soon, about the itching and sneezing, and coughing, but I have seemed to find a way to ease the suffering. I used to just take a 24 hour allergy medicine hoping that it would help, but at night I was still itching; I then tried an antihistamine which worked great for bedtime, but I was drowsy all day. The solution? 24 hour in the morning, and antihistamine at night. So far, it's been workin' for me.
Saturday, March 28, 2015
Medley Soup
I know, it's Spring, and I did not post anything for St. Patrick's Day (gimme a break! I'm a college student!), but it's cold over where I live today so I feel like a soup. Here's how I made it.
You're gonna want to start with a good base, for me that's my traditional version of this sauce, to make it traditional I skip all of the extra veggies, and just add them to the soup later.
So, go ahead and grab yourself a can of beets and boil 'em! While you are doing that...
 Chop up your veggies...
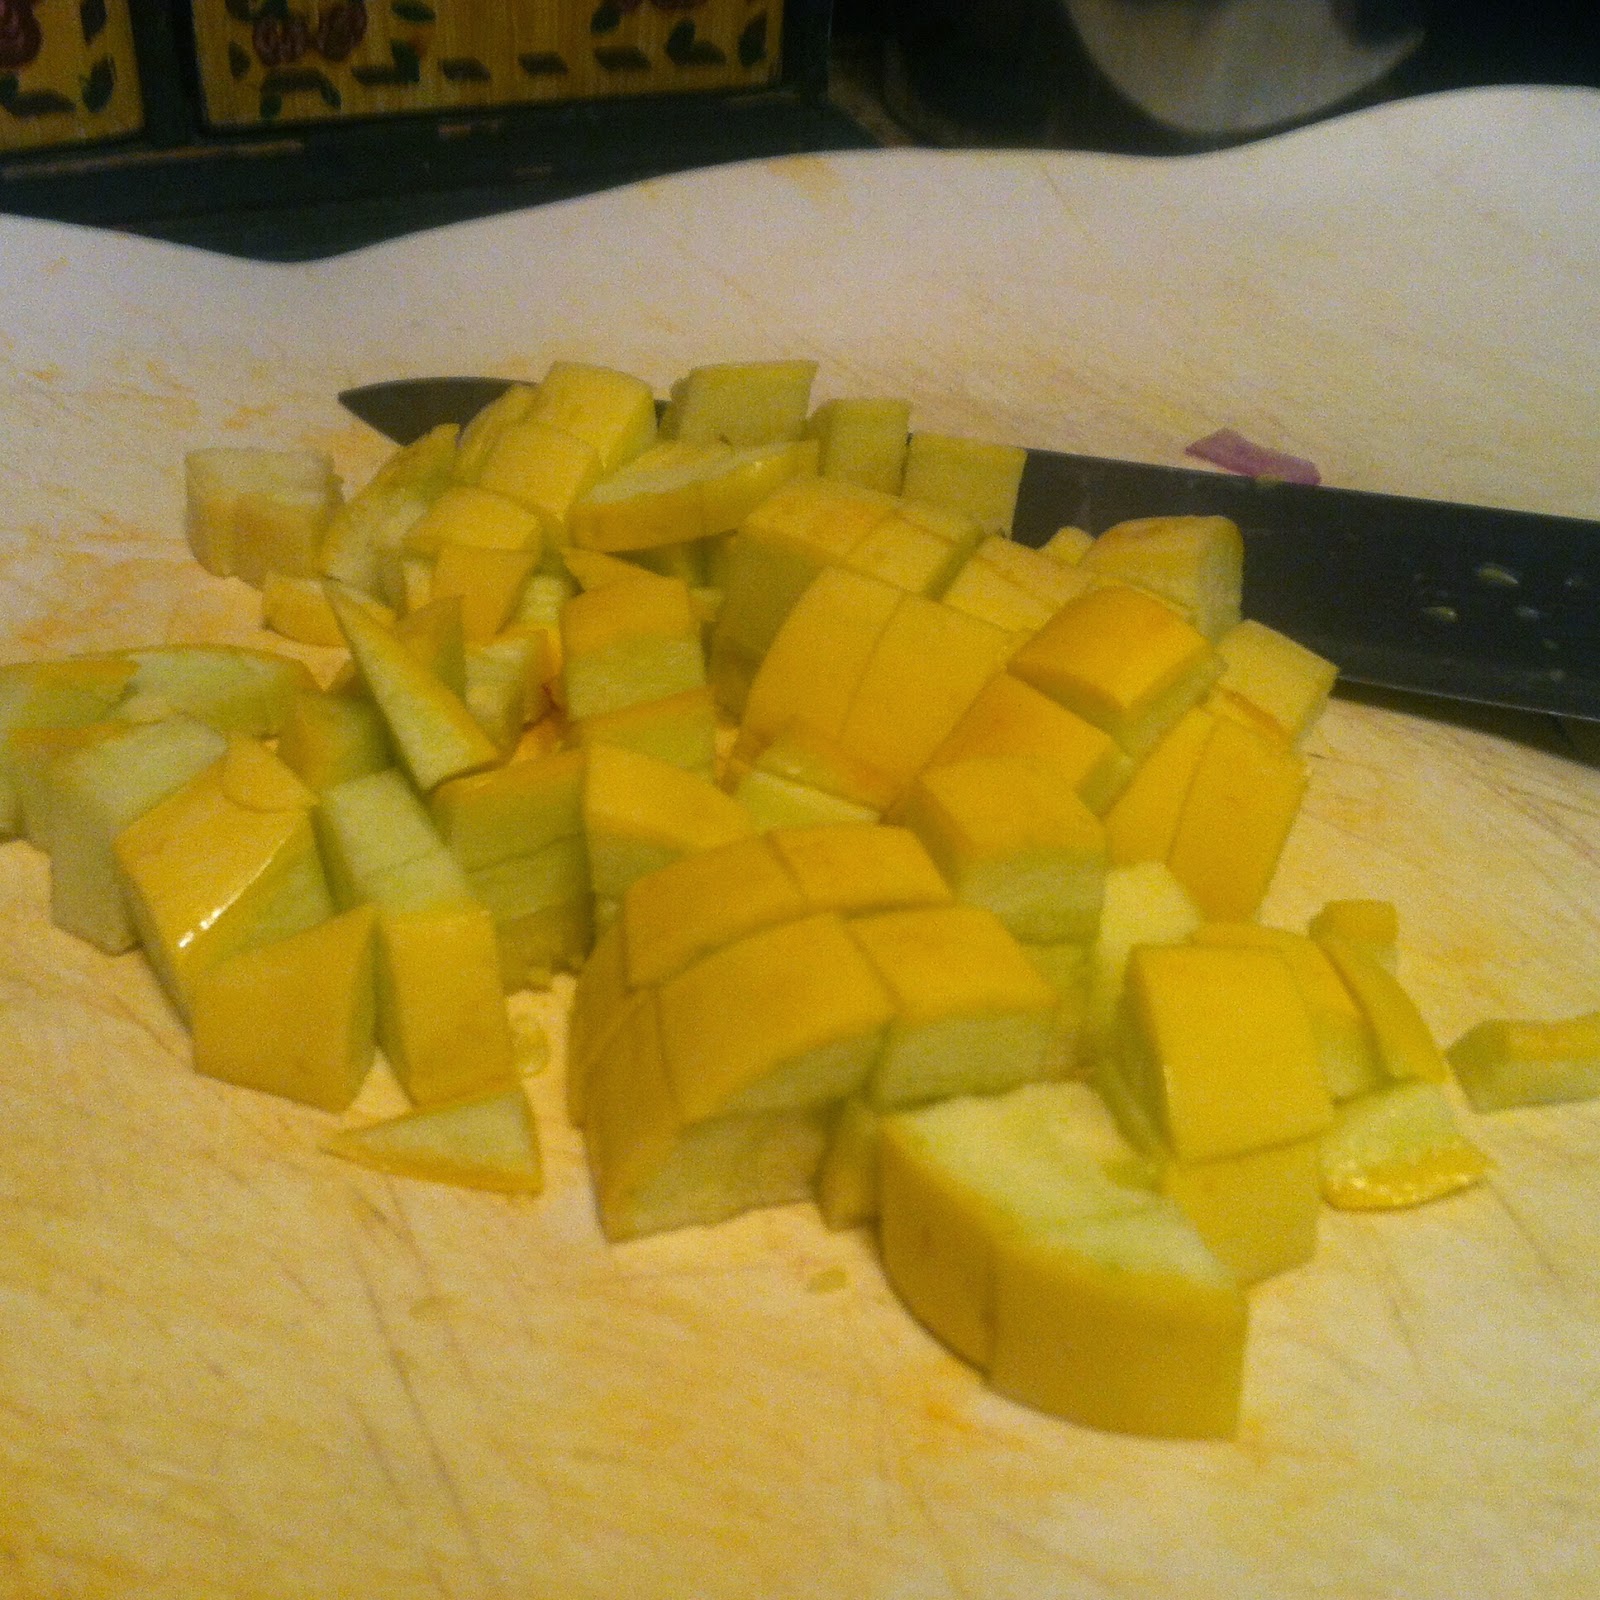 I used onion and squash (squash makes it look like there is corn in the soup)
 next cut up some Italian sausage (you can use whatever meat you like, this is what I had on hand).


add extra vegetables of your choice (I chose broccoli, which I love).
 You should have your red sauce ready by now, so go ahead and dump it into the mix!
Personally, I like to stir in olive oil or coconut oil after I have the soup finished, it just adds a bit of character to the soup, and besides, that's what Momma did to her soups when I was a kid. Except she used butter...
 you can let your soup simmer for a while or serve it up immediately! Either way, it's good. Enjoy!
 This is where I generally post a picture of a dish with the finished product, but what can I say? I was starving!
You're gonna want to start with a good base, for me that's my traditional version of this sauce, to make it traditional I skip all of the extra veggies, and just add them to the soup later.
So, go ahead and grab yourself a can of beets and boil 'em! While you are doing that...
Cook your onions and until golden or soft, which ever you prefer.
Toss the squash, and sausage in with the onion and cook until sausage is browned, and squash is cooked. I love the smell of cooking onions!
Thursday, March 19, 2015
Coconut Ranch Dressing
This recipe takes a long time, but I promise its worth it.
My favorite dressing for salad is ranch dressing.
It's creamy, it's tangy and just perfect for dipping or pouring. Ranch makes any vegetable edible.
Here's how I made it
Salt
Pepper
Italian seasonings
Rice vinegar (or you can use lemon juice)
First, you need a can of coconut milk, NOT the lite version. This is what I use.
 You need the cream that's gonna rise to the top. Place the can into the refrigerator for three to four days (yes, 3-4 days). This step is absolutely necessary for the cream to rise completely and properly harden. After the allotted time. open up the can and scoop out the hardened cream (don't toss the liquid that is left! You can use it to help thin out the dressing).
You will want to start mashing up the cream and adding your rice vinegar, salt, pepper and Italian seasonings.
 It will look clumpy at first, but keep adding rice vinegar a little bit at a time, and the reserved coconut liquid until you have the desired consistency.
 This would have been too thick for a dressing, but perfect for a dip!
 This is what I was looking for. Now of course you will need to taste it as you go to make sure it's not too vinegary, or whatever. Everything is to what your personal taste is, if you like yours spicy add some cayenne pepper to it! If you like yours a bit sweet, add sugar or honey to it, throw in some mustard if you like! It's whatever you want it to be. This is the goal
 A jar of allergy safe ranch whenever you want or need it. This recipe will make about two cups of dressing, but that really depends on how much liquid you add. It should keep up to a week in the fridge (if it last that long).
FYI: This dressing does need to stay cold, it may harden a little depending on how much liquid you add (the more you add the less likely it is to harden), and it will melt if you pour it over something hot.
Enjoy!
My favorite dressing for salad is ranch dressing.
It's creamy, it's tangy and just perfect for dipping or pouring. Ranch makes any vegetable edible.
Here's how I made it
You Will Need:
1 14.5 oz can of coconut milkSalt
Pepper
Italian seasonings
Rice vinegar (or you can use lemon juice)
First, you need a can of coconut milk, NOT the lite version. This is what I use.
You will want to start mashing up the cream and adding your rice vinegar, salt, pepper and Italian seasonings.
FYI: This dressing does need to stay cold, it may harden a little depending on how much liquid you add (the more you add the less likely it is to harden), and it will melt if you pour it over something hot.
Enjoy!
Chocolate Chip Cookies!!!
Okay, this is it. I have created my very first gluten, egg, dairy, nut, soy, and corn free cookie recipe (whew! that's a mouth full!)! And they contain chocolate chip too, extra yummy. It took me a while to figure this out (like mixing and baking one failed cookie at a time long time), but I have finally gotten something worth posting for you guys! And they taste pretty good to boot, let me tell you how to make them (in the process I forgot to take pictures until the end).

Aren't they just beautiful?
1 1/2 cup rice flour
1/2 cup quinoa flour
Aren't they just beautiful?
What you need:
1 1/2 cup rice flour
1/2 cup quinoa flour
1 tbs coconut flour
1/4 tsp baking powder
1/4 tsp salt
1 cup truvia sugar blend
1/4 cup coconut sugar
1/4 cup+3tbs applesauce
1 cup truvia sugar blend
1/4 cup coconut sugar
1/4 cup+3tbs applesauce
1 cup coconut oil (I melted and cooled
Large mixing bowl
Small mixing bowl
2 cups of allergy safe chocolate chips (I use these whenever I bake)
What you do:
Preheat oven to 350. In the large mixing bowl blend the first five ingredients together. These are considered to be the "dry" ingredients. In the small mixing bowl blend together the last four ingredients. These are the "wet" ingredients, why sugar is considered a wet ingredient I may never know. Pour the contents of the small bowl into the large bowl and stir them together, the mixture will look very oily, but that's ok. Now it's time to pour in the chocolate chips! You can add more if you like, this is just a good starting point. Drop heaping or level tbs of the cookie dough onto an ungreased cookie sheet, and press them out as thick or thin as you like them. Bake for 15-20 minutes or until the cookies are golden-brown around the edges. Cool on a wire rack and enjoy!
My brother (who is not allergic to anything) said that they were not what he was used to, but good. I'll take that. I hope you guys like them too!
Wednesday, March 18, 2015
Life With Allergies...and Eczema a Personal note
Have I ever told you guys that life can be tough? Yep, it is very trying at times. In spite of what life throws at you though never give up. I have lived most of my life with eczema, and over half of it with allergies, I'm 25 by the way; if I had been told that I would go through all of this at the beginning, before I was born, I would have opted out. Life with allergies and eczema? No thanks. But, here I am and I have to admit, it hasn't been that bad. Sure I've had days when I could not peel (yes, peel) myself out of bed, days when I felt, and looked quite frankly like a pinhead toad (Google it, they're ugly). Those days have come, and they have gone; nothing more than a memory to me now. Something that keeps me going is a saying that doctors, and my mom have told me often: "This too, will pass." It always does, although I get frustrated with what seems like one allergic reaction after another, I remind myself that after it gets worst, it somehow always gets better. Granted, you may need to take action to start the process of getting better, but you do have to start. What do you need to get started? Do you need a doctor? maybe a support group? Help is out there, you just need to know where to find it. Trust me, I know what I'm talking about. After I turned 20, I did not qualify for health insurance, but I needed medical help every once in a while, and medication from time to time. So after applying for health insurance and being turned down by the local Health Department, I asked the lady over the phone what I could do because I really needed help, and the lady told me about a free health clinic program in my area that I qualified for. Lo and behold, I was able to see a doctor not too long after that. Don't sit and suffer! My mom always says that, oddly enough, she is always saying it to me. To live is to fight, and to fight is to live; I'm a fighter. Everyone needs to fight for something. Having a dream makes life a little bit easier, who are you living for? Living for someone else is a great places to start. I am still here because I believe that somehow, I can help someone with my life's experiences; on this blog and later as a doctor. I'm rambling, better shut it down now.
Life's beautiful. Keep fighting,
Life's beautiful. Keep fighting,
Mackie
Thursday, March 12, 2015
Sweet Potato Chili
Hey everyone! Last week I posted that I was going to see if I can eat sweet potatoes. Good news! I can! I was so excited that I created this recipe the next day. Hope you enjoy!
:)
1 Medium baked sweet potato
1 Onion chopped
1/2 a pound of ground beef
2 Tbs of chili powder (of course)
I always start with the onions. Go ahead and saute them until they are golden and soft...
 In another pan, cook your ground beef until all the pink is gone, and add your drained beans. along with the chili seasoning. I forgot to take a picture of this, sorry.
Now it is time to add your sweet potato.

I peeled and cut up my potato and stirred it in a little at a time. I ended up using all of it though.

I know, you may be worrying that the flavor of the sweet potato will mess with the chili, but I promise, it won't. The sweet potato here is acting like tomato paste, and thickening our chili, the flavor is coming from the chili seasoning. See?

Add your onions

And you're done! this will feed about 2-3 people. Don't worry, it was good.

:)
What you'll need:
1 14.5 oz Can of Black beans (or what ever bean you like)1 Medium baked sweet potato
1 Onion chopped
1/2 a pound of ground beef
2 Tbs of chili powder (of course)
I always start with the onions. Go ahead and saute them until they are golden and soft...
I peeled and cut up my potato and stirred it in a little at a time. I ended up using all of it though.
I know, you may be worrying that the flavor of the sweet potato will mess with the chili, but I promise, it won't. The sweet potato here is acting like tomato paste, and thickening our chili, the flavor is coming from the chili seasoning. See?
Add your onions
And you're done! this will feed about 2-3 people. Don't worry, it was good.
Friday, March 6, 2015
About the Common Tater...
I have been allergic to potatoes for a year now. It's been awful! I watch as the rest of my family enjoys baked potatoes, mashed potatoes, FRENCH FRIES (oh! I miss these guys!)! and other potatoey goodness. Tonight, I have tested a sweet potato, and I am hoping for the best (Mom said for me to wait 24hrs).
:)
:)
How to Shop With Food Allergies
12 Tips For Shopping With Food Allergies
-
Know your/their Allergies!
This seems obvious, but often when shopping for others it is easy to forget what their allergies are. It may help to have a piece of paper with your/their allergies on it.
-
Be mindful of the environment.
When reading the ingredients take care to check the environment in which the product was produced. I know for me personally I cannot have foods that are produced in the same environment as some allergens (not all), or on the same equipment. My brother, on the other hand, can eat foods that are both made in the same environment, and on the same equipment.
-
Bring a friend.
It always helps me to have an “extra pair of eyes” when reading ingredient lists, my sister and I often help each other look for allergens in foods we select; plus it’s more fun!
-
Read, Read, READ!
This one may go without saying, but just so that you can’t say I didn’t tell you...READ THE INGREDIENT LISTS! Your life, or the life of someone else is depending on it! Company’s sometimes change the ingredients of their products without notifying the public, so be careful (sorry for flaming at you).
-
Take your time.
It’s important to take your time when finding foods you can eat. Reading ingredient lists takes a lot of time, but if you take time now, you will save time in the end. Eventually, you will be able to hurry and grab your groceries :)
-
Have a list…
If you have been in this for a while you may already have a list of food and food products you can eat; Keep this list handy! You will be able to add to it over time, and having this list will definitely help to cut down on shopping time.
-
Don’t be afraid to ask for help.
If you don’t know where to look, ask a clerk. Sometimes grocery stores have specialty food aisles such as a gluten free aisle which an associate may be able to help you find. You can even ask for a store to consider carrying products that you use.
-
Keep your ears open!
I know that it has happened to me, while talking to a sibling about the allergy safeness of a product, a fellow shopper will stop and listen and ask questions: “really?! that’s gluten free?” “Do you have allergies too? Is this what you buy?” I am always happy to answer questions and offer assistance when I can. Chances are, you may run into people who have similar allergies and can help you with selecting products.
-
Go to the store(s).
It is one thing to see what allergy safe products a store offers online, but often what you see online is not reflected in the store. You need to actually go shopping to see what all is available.
-
Do your research.
Do not cut out shopping online all together, the web is a great resource for finding companies who offer allergy-specific safe options.
-
Do not experiment!
If you have never had it before stay away from it! It is best to stick with what you know… “better safe than sorry”.
-
Have a plan.
Know what you need. If you already know what you want to prepare, you will have a good working idea of what you need to pick up; plus you will avoid purchasing items you don’t need.
-
Know the lingo!
Be familiar with the different names for the foods you are allergic to.
Know your/their Allergies!
Be mindful of the environment.
Bring a friend.
Read, Read, READ!
Take your time.
Have a list…
Don’t be afraid to ask for help.
Keep your ears open!
Go to the store(s).
Do your research.
Do not experiment!
Have a plan.
Know the lingo!
Tomato Free Red Sauce
Happy Thursday everyone! I am going to share my go-to red sauce recipe for spaghetti.
I love spaghetti, as you know I am tomato-free, but it was my little sister who inspired the need to find a tomato-free red sauce; she has had tomato allergy since she was a kid, me? I just started last year. We have tried many different things, no sauce, pepper sauce (made with roasted bell peppers of course), and white sauce. Nothing quite satisfied my noodles like a red sauce did... and white sauce is for stroganoff...which my sister hates. I must have red sauce for my noodles! So I searched the web, and saw that there was in fact a tomato-free sauce, and it was made with beets of all things. I like beets, so I decided to give it a try. After many trial-and-error recipes, I have finally found one I like.
Try it sometime and see if you do too!
1 Yellow squash
1 Zucchini
1/2 Yellow bell pepper
1/2 Orange bell pepper
1 14.5 oz can of beets
1 14.5 oz can of carrots
Olive oil
Rice vinegar (or whatever vinegar you can have, this one is gluten free, and corn-free)
 First you will want to dice up your veggies.

You will want to start sauteing the peppers before you add the rest of your vegetables to the pot. Once the peppers are soft, toss in the rest of the veggies!

Saute these until they are nice and soft
Meanwhile, you will want to open up your can of beets and drain off the juices...
add these to another pot, cover with water and bring to a boil!
 These are not quite done. What you are doing in this step is getting rid of the purple-reddish
color, which will turn your noodles pink... not appetizing. Boil the beets for about 4-5 minutes, then drain.
While you are doing all of this, go ahead and get another pot going! This time with water for your noodles... I use rice noodles, but you can use whatever you want.
 This looks like quite a bit, and it is. But I am sharing!
Get out a blender and toss the beets, and half of the sauteed vegetables in. You can now add the can of carrots to the mix (I never use more than half of the can, but put in as much as you want!)
 Those two red things are roasted peppers, but you can see the carrots and other things...
 and blend away! This is about where I usually add rice vinegar, it adds a nice zesty flavor.
Now just add this beautiful sauce to the remaining sauteed vegetables, and stir them in!

Add seasonings of your desire, I use onion powder, garlic powder, Italian seasoning, and Oregano. I forgot to mention that I also added salt and pepper, but you knew that, right?
 By now, your noodles should be done, so go ahead and serve them up, and top with this lovely red sauce! This is my bowl:
 This is fine without meat, because of all of the vegetables. Enjoy!
I love spaghetti, as you know I am tomato-free, but it was my little sister who inspired the need to find a tomato-free red sauce; she has had tomato allergy since she was a kid, me? I just started last year. We have tried many different things, no sauce, pepper sauce (made with roasted bell peppers of course), and white sauce. Nothing quite satisfied my noodles like a red sauce did... and white sauce is for stroganoff...which my sister hates. I must have red sauce for my noodles! So I searched the web, and saw that there was in fact a tomato-free sauce, and it was made with beets of all things. I like beets, so I decided to give it a try. After many trial-and-error recipes, I have finally found one I like.
Try it sometime and see if you do too!
Here is what you need:
1 Onion (I generally use the whole thing, you can use less if you want)1 Yellow squash
1 Zucchini
1/2 Yellow bell pepper
1/2 Orange bell pepper
1 14.5 oz can of beets
1 14.5 oz can of carrots
Olive oil
Rice vinegar (or whatever vinegar you can have, this one is gluten free, and corn-free)
You will want to start sauteing the peppers before you add the rest of your vegetables to the pot. Once the peppers are soft, toss in the rest of the veggies!
Saute these until they are nice and soft
Meanwhile, you will want to open up your can of beets and drain off the juices...
add these to another pot, cover with water and bring to a boil!
color, which will turn your noodles pink... not appetizing. Boil the beets for about 4-5 minutes, then drain.
While you are doing all of this, go ahead and get another pot going! This time with water for your noodles... I use rice noodles, but you can use whatever you want.
Get out a blender and toss the beets, and half of the sauteed vegetables in. You can now add the can of carrots to the mix (I never use more than half of the can, but put in as much as you want!)
Now just add this beautiful sauce to the remaining sauteed vegetables, and stir them in!
Add seasonings of your desire, I use onion powder, garlic powder, Italian seasoning, and Oregano. I forgot to mention that I also added salt and pepper, but you knew that, right?
Subscribe to:
Posts (Atom)